
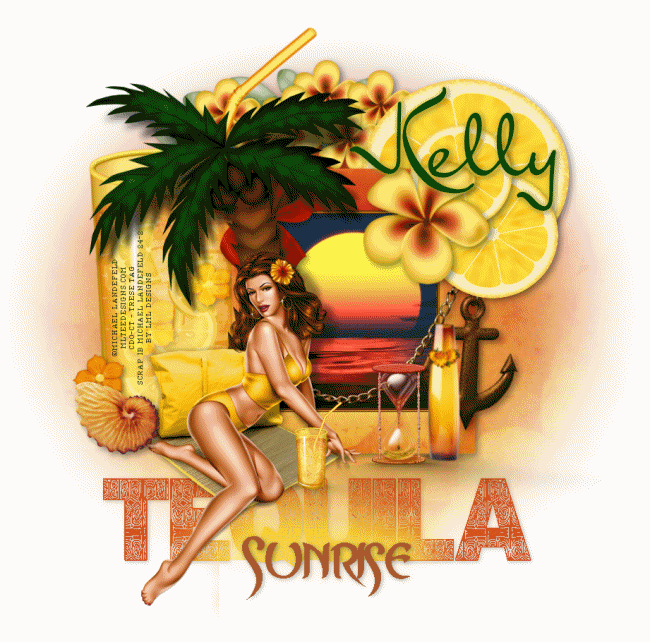
Tequila Sunrise
- 2 ounces gold tequila
- 4 ounces fresh orange juice
- 3/4 ounce grenadine
- Place ice in glass so it is half full. Add tequila followed by the fresh orange juice.
- Put a flat handled spoon into the glass. Add the grenadine quickly, allowing it run down the back side of the spoon so it sinks to the bottom of the liquid.
- Garnish with an orange slice and a cherry.
- Note: To make an authentic Tequila Sunrise, make sure to add the grenadine syrup last so that it can sink to the bottom and then begin to rise to create the sunrise effect.
This tutorial was written by me on August 17th, 2012. Any resemblance to any other tutorial or tag is unintentional and is pure coincidence. Please do not claim my work as your own and do not post to any other website, blog or forum without permission from me. It is written with the assumption that you have a working knowledge of PSP and its components. It was written for PSP 9.
I recommend that you read through this or any tutorial you are attempting before starting it so you will know what to expect and how to get organized.
As with any of my tutorials when a plugin is required, change only the settings I recommend and leave the others on the default settings.
What you will need to accomplish this tutorial is a kit by LML Designs, Inspired by Michael Landefeld 24-2 which you can purchase at Creative Design Outlet HERE. And of course the amazing art of Michael Landefeld that you can also purchase at Creative Design Outlet HERE, along with all of his other tubes. Please support the arts and do not use his tubes without a license and do not share this kit. Animation I have included HERE. Mask is one I got in one of my groups, I've included it HERE. If this is your mask, please let me know so I can give you proper credit here. Plugins are Alien Skin Eye Candy 5/Impact and Eye Candy 4000. There are three fonts, Mr. Keningbeck HERE,
Let's begin...
Start by making a new 700 x 700 white image, we will resize in the end. Now open Animation Shop...we need to bring in a frame from our animation. Open the animation I provided into AS and click on one of the frames..doesn't matter which one. Click on the top of the Animation Window and go to copy, then go back to PSP and paste this frame into your new white image.....

Now copy and paste your frame element, I used Frame 1. Resize it 50% and then use your Raster Deform tool to drag the corners in...you're wanting to fit the frame around the animation.
Using my image as a reference for size and placement start copying and pasting the rest of your elements. For the elements besides the tree, the small glass, the hour glass and your tube, add this drop shadow to each:

For the tree and your tube go to Effects/Plugins/Alien Skin Eye Candy 5/Impact/Perspective Shadow and use these settings:

(You can tweak your shadows by moving the nodes around in the preview window. To move one node at a time hold down your CTRL key. You can move the whole shadow by holding down your right mouse button and clicking in the middle of the shadow. It's very important to think about how a shadow would be cast realistically and how dark or how light it should be. This plugin is one of my favorites and one I use with nearly every single one of my tags.)
For the small glass and the hour glass go to the settings tab and find Short Perspective Shadow in front and tweak your shadow from there.
For the little flowers I added to the large glass in the background, I simply changed the blend mode to hard light and brought the Opacity down to 60% and added a very light drop shadow.
For the wordart, use the font Asmat Font 2007 in all caps with your color set to the burnt orange color...set your Antialias to Sharp for crisp edges on your font, type TEQUILA. Duplicate it and then go back to the original layer and then up to Selections/Select All/Selections/Float/Selections/Defloat and then Flood fill with a bright yellow. You will most likely have to zoom in so you can see to get the entire thing filled....

Once you have at least most of the middle to bottom filled well, go to your duplicated layer in your palette and then grab your Selection tool with a Feather of 90%. Select the lower middle part of TEQUILA and hit delete a couple of times until you get a yellow glow. Then merge the two layers together and add a drop shadow using these settings:

Now using the font Asrafel type the word Sunrise in the same burnt orange color and give it a slight drop shadow as well...only increase the opacity a bit. Then duplicate the word Sunrise and go to Effects/Plugins/Eye Candy 4000/Corona and use these settings:

Then using your Selection tool with no feather select the lower portion of the word...flush with the bottom of TEQUILA and hit delete...merge the two Sunrise words together.
Now add your name, give it a drop shadow and use the same Corona you just used only decreasing Glow Width to 5 and add your Copyright. Be sure your copyright is legal and legible. For a professional-looking copyright I use pixel or copy fonts. You can google and find hundreds of these fonts. Most of these fonts work best at size six with your antialias set to off.
Now, we're going to prepare for animation. We're going to start by merging layers together. Close all layers above your frame and then merge Visible. It should look like this:

Hide this merged layer and unhide your name (if you're going to make tags for others) and then merge Visible layers. You should now have only three layers.
At this point hide your name, the last merged layers, which should be the middle layer and then copy (CTRL + c) and then go to Animation Shop. Hit CTRL + v to paste a new animation. You should still have the animation open in PSP. You should make a few duplicates of it just in case you don't get your first drag right. Go to Edit/Select All and then CTRL + c to copy and then hold down CTRL and hit v a couple times and it will paste as many times as you hit v. Take note that this animation has 15 frames.
Go back to the animation you just pasted in AS and duplicate the frame by clicking on the top of the window and going down to copy and then again click the top of the window and go down to duplicate selected...repeat this until you have 15 frames.
Drag the bar at the bottom of the window until you're at the very first frame on both the animation you just created and the animation I provided and on both go to Edit/Select All. Carefully drag the animation into its spot inside your created animation. Carefully lining up the corners. If you mess up, it's okay, you made duplicates and you just simply go up to Edit/Undo Drag and redo it.
Now check your work..if you're happy with it, go back to PSP and unhide the two top layers and hide the bottom layer. Copy merged (CTRL + SHIFT + C) and then go back to AS. Hit CTRL + v to paste a new animation. Just like you did above, duplicate until you have 15 frames. Always make sure you have selected all frames on both and line up carefully. Don't let go of your drag until you're lined up...now drag this last animation into the animation you've been working with in Animation Shop, carefully lining up your work. Resize to fit your needs or desires, save as a .gif and you're done.
I'm glad you tried my tutorial. I hope you had fun with it and maybe learned something to hone your PSP skills. Please feel free to contact me with any questions you have about any of my tutorials or with issues over broken links, etc.
Blessing,
Trese
1 comment:
Thank you so much for this post. I want to let you know that I posted a link to your blog in CBH Digital Scrapbooking Freebies (please, notice the new url for my blog), under the Page 1 post on Aug. 18, 2012. Thanks again.
Post a Comment