
This tutorial was written by me on July 3rd, 2012. Any resemblance to any other tutorial or tag is unintentional and is pure coincidence. Please do not claim my work as your own and do not post to any other website, blog or forum without permission from me. It is written with the assumption that you have a working knowledge of PSP and its components. It was written for PSP X.
I recommend that you read through this or any tutorial you are attempting before starting it so you will know what to expect and how to get organized.
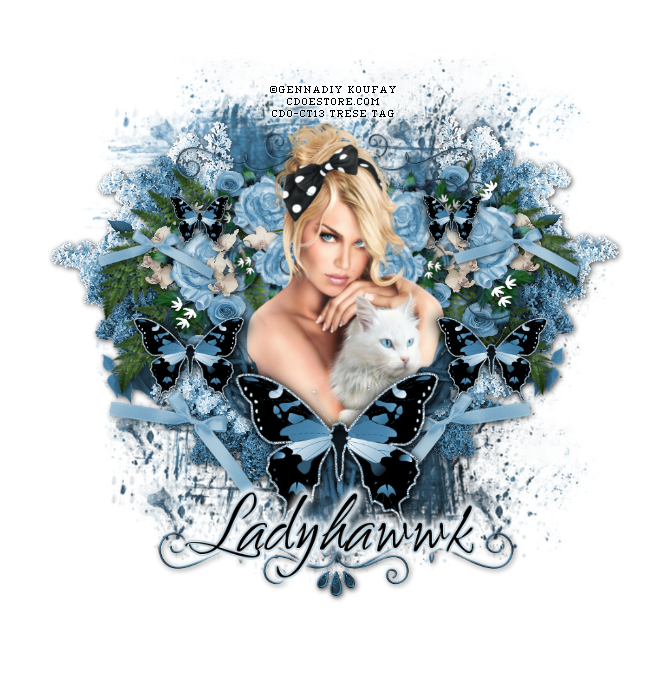
What you will need to accomplish this tutorial is this amazing kit by LHD Scraps called Simply Purple that you can purchase at Creative Design Outlet HERE. Tube by Gennadiy Coufay which can also be found at Creative Design Outlet HERE along with all of his other tubes. Please support the arts and do not use his tubes without a license to do so. Plugins Alien Skin Eye Candy 5/Impact and Eye Candy 4000. Mask by Weescotclass WSL_Mask192 which can be downloaded HERE. Font is Ambiance BT Light which can be downloaded HERE.
Let's get started...
First open all of your elements and tube into PSP. You can use my image as a reference for which elements I used. Now start a 700 x 700 new white image. You can resize later.
Copy and paste the heart shaped vine frame element into your new image. Go up to Adjust/Hue and Saturation/Colorize and use these settings:

Below this frame layer copy and paste paper of choice...resize 75% and apply the same Colorize settings. With your eraser tool, erase all the areas of the paper outside the frame.
Using my image as a reference for size and placement, copy and paste all your elements into your working image. Apply the same Colorize settings as you used for your frame and paper. For precise resizing you can always use your Raster Deform tool or your Pick tool depending on which version of PSP you are using. Apply a slight drop shadow to each element and for the elements you want to give a deeper shadow go to Effects/Alien Skin Eye Candy 5/Impact/Perspective Shadow and use the following settings:

You can tweak your shadows by moving the nodes around. To move one node at a time simply hold down the CTRL key as you move the node.
Copy and paste paper of choice above the background layer, Resize 75% and apply your mask.
Add your name (set antialias to sharp for crisp edges on your fonts) and then go to Effects/Plugins/Eye Candy 4000/Corona and use these settings:

Add your copyright taking care that it is legal and legible. For a neat and professional-looking copyright I use a pixel or copy font. You can google and find all sorts of these fonts. Most work best at size 6 and with your antialias set to off. Resize and you're done.
I hope you enjoyed my tutorial and maybe learned something from it. Please feel free to contact me with any questions or concerns with broken links, etc.
Blessings,
Trese
No comments:
Post a Comment