
This tutorial was written by me on April 7th, 2012. Any resemblance to any other tutorial or tag is unintentional and is pure coincidence. Please do not claim my work as your own and do not post to any other website, blog or forum without permission from me. It is written with the assumption that you have a working knowledge of PSP and its components. I wrote it for PSP 9, but it should be compatible with most versions.
I recommend that you read through this or any tutorial you are attempting before starting it so you will know what to expect and how to get organized.
As with any of my tutorials when a plugin is required, change only the settings I recommend and leave the others on the default settings.
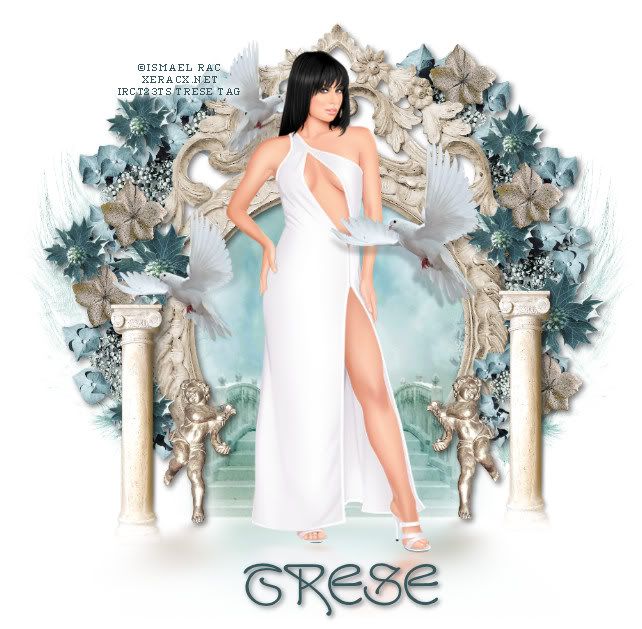
What you will need to accomplish this tutorial is this stunning tube by Ismael Rac called Summer Dress. You can purchase Rac's tubes from his store HERE. Please support the arts and don't use his images without a license to do so. This amazingly beautiful scrap kit by Doudou's Design & Paprika over at Digital Crea HERE called Serenity. Plugin is Eye Candy 5/Impact. Font is San Remo and can be downloaded HERE.
Let's get started....
Start by opening all of your elements from your kit and your tube into PSP. Open a new white 700 x 700 image. You can resize later. Copy and paste your frame, element 18, into your working image. Resize 50% and then use your raster deform tool to resize further if needed. The Raster Deform tool you will find useful to prevent distortion caused by resizing in percentages. Add a drop shadow using these settings: Vertical and Horizontal offsets 4, Opacity 50, Blur 14, color is black.
Next, you will copy and paste the paper with the stairs behind your frame. Resize 35%, Duplicate and on the duplicated layer set your blend mode to Difference. Go back to your frame layer and get your selection tool, selection type is rectangle with a 90% feather. You want to select the very bottom of your frame and hit delete once or twice. On each of your paper layers select the sides sticking from the bottom of your frame and hit delete a couple times...just enough to get rid of the "hard edges." See my image as a reference if needed. You're trying to make the steps to appear to be coming out of the frame. (Be sure to delete any edges showing through any areas of the outside of the frame.)
Next, beneath the paper layers copy and paste your flowers...again using my image for reference for the flowers to use. Use your Raster Deform tool for resizing...as well as cutting down on distortion from resizing in percentages, you can get precise sizing. Drag a few flowers above your frame and scatter them lightly about. Don't forget your drop shadows...I used the same as I used for my frame.
Add all the other elements and your tube. We're going to use a plug in for the shadows on these. First, the columns...on each go to Effects/Plug Ins/Eye Candy 5/Impact/Perspective Shadow and use these settings: Check Perspective Shadow, Center offset distance 11.70, Overall Opacity 27, Overall Blur 4.70, Perspective Blur 11.43, Fade out 17, and check the Mask Selection..color is black. This is a plugin that takes some practice, but makes a huge difference in giving your image and 3 dimensional effect. Now on your angels, tube and the top paper layers we are going to use a slightly different perspective shadow. It's actually a reflection in the front. Go back to the same plugin and use these settings: Settings tab...Reflect in front, sharp. Basic tab...settings are automatic, leave them factory. Only thing you want to do is move your nodes around to be sure your reflections are connecting with your images. You can hold down your CTRL key to move one node at a time. Once you have applied this plug in to each, use your selection tool with a feather to delete parts of these from the bottom...what we are trying to accomplish is making it look like they're reflecting off of glass or a shiny floor.
On your columns, use the same feather with your selection tool to delete the bottom, it sort of appears that there is a slight mist coming up.
For the doves use the factory default in the Perspective Shadow plugin but drag the shadows slightly below the birds.
Add your copyright taking care to be sure it's correct and legible. Add your name and we're done.
I hope you enjoyed my tutorial and that you gleaned something useful from it. Please feel free to contact me with any questions or issues with broken links.
Blessings, Trese
No comments:
Post a Comment